Gateway Swap

A Better WiFi Experience with Nokia

Stay connected effortlessly with Nokia WiFi, designed to give you fast, reliable internet throughout your home.

With smart technology and an easy-to-use app, you’ll get strong, seamless coverage in every room—no complicated setup required.
MOPC Network

Benefits of the Nokia WiFi Experience:

In today’s interconnected world, Open Access Broadband guarantees universal connectivity. Our network is open to all and delivers:


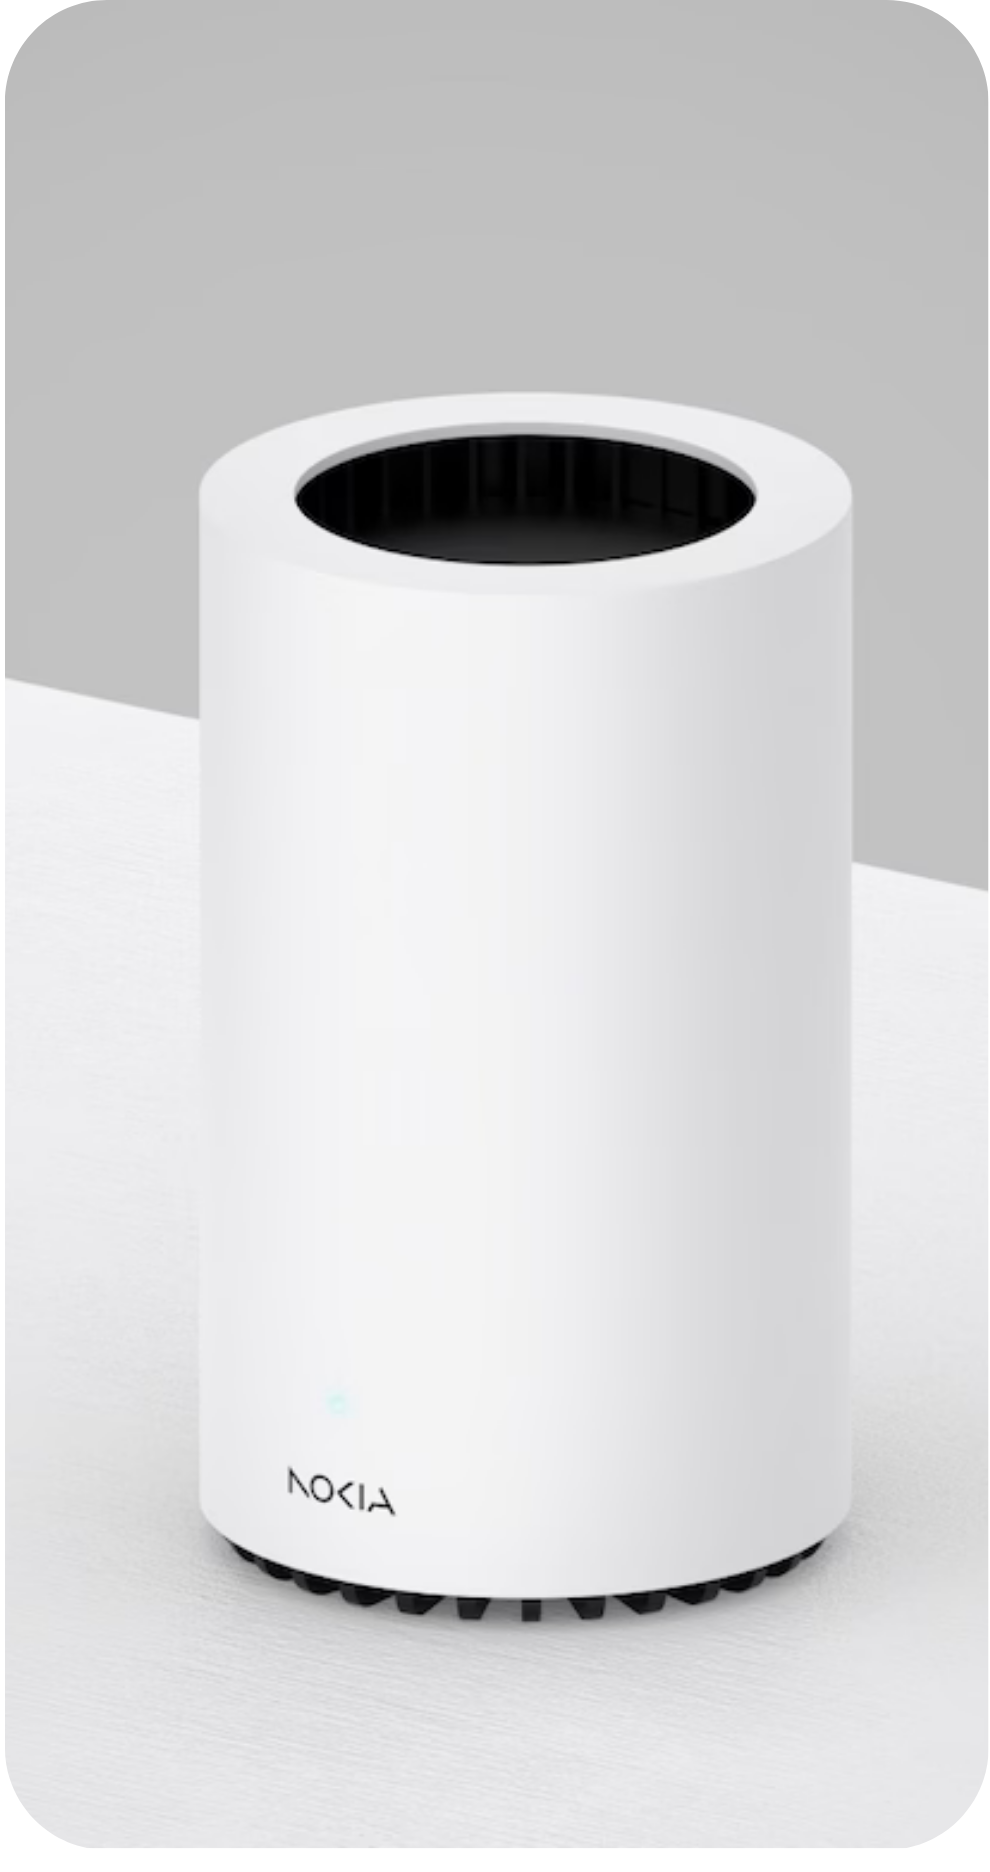
HOW TO CONNECT YOUR NOKIA BEACON 3.1

Watch this video

 1. Unbox Your Equipment

  • Open the box and take out:
    • Nokia Beacon 3.1 Gateway
    • Power adapter
    • Ethernet (network) cable
    • Quick start guide


2. Set Up the Physical Connections

  • Locate the power port on the back of the Beacon.
  • Plug in the power adapter into the Beacon and into a wall outlet.
  • Turn on the Beacon by sliding the power switch (located on the bottom next to the QR code) to the green position.
  • Remove the old gateway:
    • Follow the power cord down to wall outlet and unplug .
    • Unplug the Ethernet cable(s) by pressing the latch clip to unlock, then gently pull out from gateway: Note: if more than one ethernet cables are plugged in note which one is in the port labeled “WAN”. Any others will be in the port(s) labeled “LAN”.
  • Connect the Ethernet cable:
    • Plug the “WAN” cable from previous setup into the blue port “WAN” on the back of the Nokia Beacon, push gently until you hear a click.
    • Plug the remaining cables into the “LAN1” or “LAN2” ports as necessary.


3. Download the Nokia Wi-Fi App

  • On your smartphone (iPhone or Android):
    • Go to your app store.
    • Search for “Nokia WiFi”.
    • Make sure it matches the correct tile/logo.
  • Download and open the app.
    • Allow permissions when prompted:
    • Allow notifications
    • Allow local network access


4. Create Your Nokia Wi-Fi Account

  • In the app:
    • Click Get Started.
    • Enter your email address and create a password.
  • Verify your email through the link sent to your inbox.
  • Once verified, return to the app and click Next.


5. Finish Setting Up Your Beacon

  • The app will detect your Beacon 3.1 automatically (as long as you are connected to its WiFi network).
  • Select your Beacon in the app.
  • Name your network (optional):
    • Choose a custom name, like the room it’s in (useful if adding more Beacons later).
  • Watch for the light color change:
  • The Beacon light should turn a blue-green color (it might look more blue — that’s normal).
  • At this point, setup is complete!


6. Connect Your Devices

  • On your devices (phones, laptops, etc.), find your new Wi-Fi network name.
  • Use the Wi-Fi password found on the bottom of the Beacon to connect.

Need Help?

If you experience any issues with Wi-Fi or device connections, contact your service provider for assistance.


Important Warnings

DO NOT press the reset button on the back of the Beacon

It will erase your settings causing loss of internet services and you’ll need to call customer support to resolve.

Use the WPS button for quick device connections (like smart TVs or printers) by pressing it on the Beacon and on the other device.

Services

MOPC Network offers a range of services designed to fit your lifestyle and budget. We’re always adding more options to keep you connected in ways that truly matter to you.